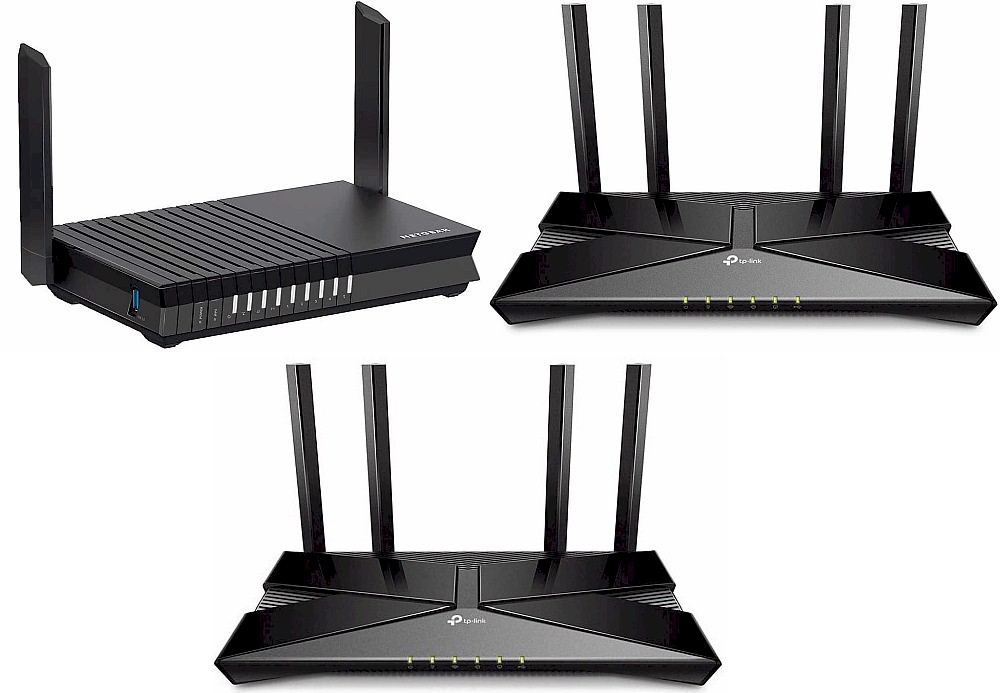
Check this How To for tips on buying a router that meets your needs.
Vumber today announced a new partnership with Paltalk to provide privacy-ensured virtual phone numbers to its user base. Vumber is a virtual, disposable phone number that enables subscribers to choose an additional phone number that can be linked to any existing phone line. Subscribers can choose an area code in North America and Vumber will … Read more
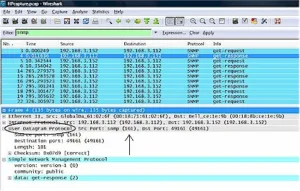
In my last two posts on this subject, I’ve covered some of the basics and
tools used to perform packet captures, highlighting the well known software
from Wireshark. In this installment, I’m going to show how I used Wireshark
packet captures to solve a real network problem.
Linksys has packed PoE, two-way audio and more into its first biz-class networked camera.
Those of you wondering about the maximum throughput achieved in our Wireless Chart testing, can wonder no more. We’ve added a set of Maximum Throughput Benchmark charts to the current set of Average Throughput Charts. Just go to the Wireless Charts, and use the Select Benchmark dropdown to access the new charts. Enjoy!
If you’re looking for a cheap way to upgrade to draft 802.11n wireless and
want to do it the Linksys way, keep an eye peeled for sales.
We’ve learned that Linksys will be discontinuing its least-expensive WRT150N
when current inventory runs out. This will leave the WRT160N, which was
introduced in January as Linksys’ only entry-level draft 802.11n router.
In our first vendor-contributed article, Ubicom makes the case for its StreamEngine auto-QoS technology.
D-Link yesterday introduced a new version of its managed security service.
The SecureSpot 2.0 Managed Security Service will initially be integrated with the DIR-625 Draft 802.11n router, with additional products to be added later.
Trendnet’s 300Mbps Wireless N Gigabit Router is a slightly less expensive, separated-at-birth twin of the popular D-Link router.
SmallNetBuilder is fortunate to have a talented and faithful audience. Our best contributors have always come from our readers, and I’m always looking to tap that vast wealth of experience.
But good people also tend to be busy people who don’t have the hours that it takes to research and prepare they kind of in-depth articles and reviews that we do. On the other hand, you do have the time to visit SmallNetBuilder regularly and I’d like to have fresh stuff for you to read each time you visit.
The Linksys DMA2200 is a second generation Windows MCX with upscaling DVD player and dual-band draft 11n wireless.
Using packet papture software like Wireshark is a useful troubleshooting technique that can be used to examine packets and gather details to help find the root of a problem. In my previous post, I talked a little bit about how to use Wireshark and walked through some steps to run a simple packet capture from a PC. This time, I’m going to go a bit deeper into the how to for doing packet captures.

